As part of our ongoing lesson on how to use various programs in 3D Animation, we were tasked to create and model a melee weapon.
The Concept
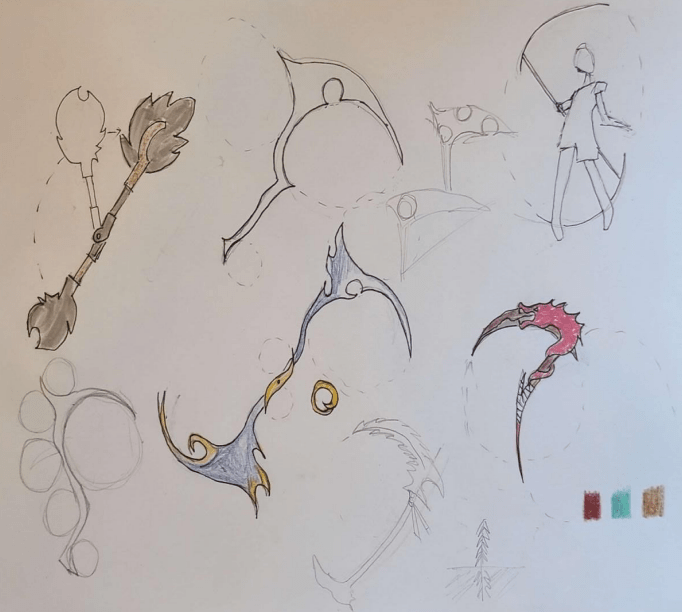
First, I came up with a concept. I wanted to create something that could be animated in a very stylistic way. We learned about the principle of animation, one of them being Arcs: the movement in circular paths. I chose to create a scythe to maximize the capability of arc animation. I was inspired by Heather’s Axe from How to Train Your Dragon, I like the retractability for practicality and more arcs! So, I sketched out various weapon designs. I used circles to create organic curvatures in the weapon.
Modeling
Ultimately, I decided on a double-sided, retractable scythe, with lots of curvatures and a ring hole as the center piece. The first step of modeling was to use Autodesk Maya. I created a general shape using and modifying basic polygons. What I found challenging was creating basic polygon faces; each face had to be small and have 3-4 sides.

Next, I had to use my Maya model and import it into ZBrush Painter. I used this program to add more details to my general shape. I ran into an issue with the symmetry mode on ZBrush, so I use a one-sided version of my weapon design and decided I would combine them at the end. I spent most of my time on this step, because it required a lot of planning and foresight on what I wanted my final design to look like. Following my Nordic inspiration, I knew I wanted my final design to be a wooden weapon with stone blades and detailing.
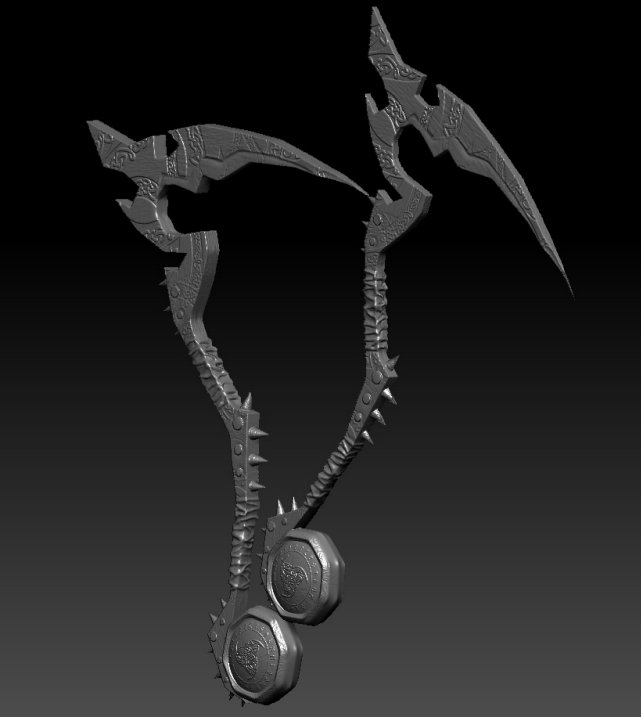
I added hand grips, spikes and screws for intimidation, etched out a blade, and added wooden and a broken stone texture accordingly. I found different vector details online and used the textures and implemented it onto the wood. I realized my original ring design for the retracting pivot no longer made sense with the rest of the weapon, so I filled it in and added more Nordic decals on each face.
One challenge I had, and couldn’t fix without remaking my original model was creating a sharp blade. When I tried to make a gradual concave, the blade looked uneven and blotchy. In hindsight, I should have created the sharp look in my Maya model.
Detailing
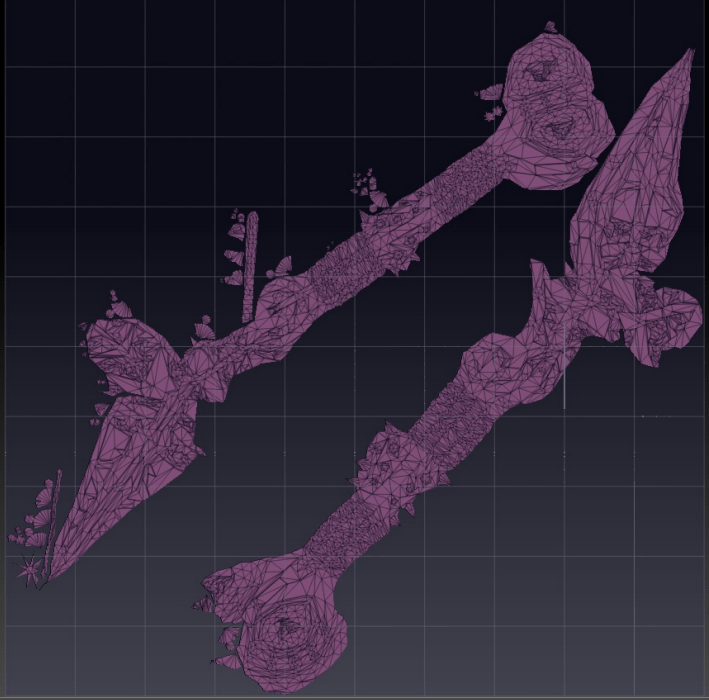
I had to prep my ZBrush model by decimating it into a low-poly and high-poly model. Low-poly means the number of faces are about 10k and under and the high-poly was just under 1 million faces. I also had to render a UV, which is a flattened version of my model that I would use for coloring and texturing in Substance 3D.
I imported my low-poly model into Substance 3D Painter, and baked my high-poly model on top to give it its detailing again.
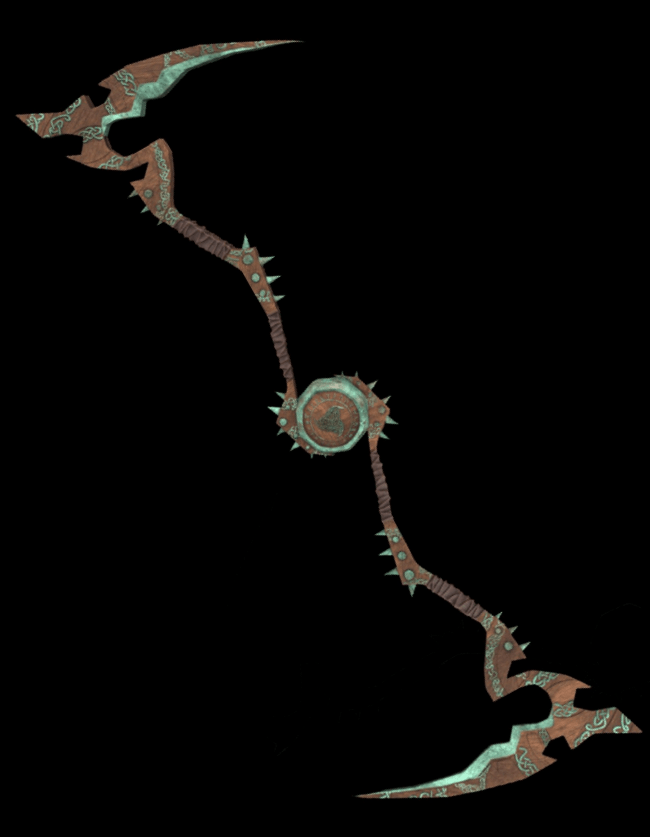
Now, it was time to color and texture. I already knew I wanted a wooden base for the weapon, so I used a darker wood that looked like spruce and added layers of dirt ontop to give it more detail. I used a dark and weathered leather for the hand grips. For the the spikes, screws, and blade I originally wanted to use stone, however it made the weapon look dull. I wanted to add color, so I used a anodized copper material.
My next challenge was to decide on how I wanted my decals to look. I had an option in which I traced the decals with the copper material, and an option in which it was inverted. After comparing the two, I thought although the inverted version looks cool connecting to the blade and makes it more rough, the stenciled version looks more natural and organic.
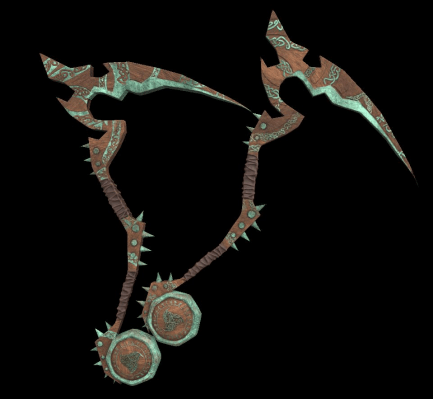
My last step was to duplicate and combine it into a double sided scythe. This is the final model product.